I’ve started building small, single-purpose Claude skills and giving them away for free. This is the first one in the series: point it at a folder of photos and it hands back a cinematic pan-and-zoom video — the kind of slow, deliberate move you see in documentaries. One command, no editing software, no subscription.
Why most photo slideshows look cheap
A slideshow is one of the oldest ideas in video, and most of them look terrible. Photos hard-cut from one to the next, or they slide sideways at a constant, mechanical speed. There’s no life to it. The trick that fixes this is decades old: give each photo a slow push in, pull out, or drift across the frame, and cross-dissolve between them. Ken Burns made it famous in his documentaries, which is why editors just call it “the Ken Burns effect.”
The catch is that doing it well is fiddly. The motion has to ease — speed up gently and settle, not move at a robotic constant rate. The moves need variety so every photo isn’t the same slow zoom. And portrait photos can’t just be cropped to fit a wide frame or you chop someone’s head off. That’s a lot of small decisions, and it’s exactly the kind of repetitive craft a skill can handle for you.
What the skill does
You give it a folder of photos. It gives you back a finished video where each photo gets its own cinematic move and cross-dissolves into the next, with an optional music bed. Here’s a single frame from a test run — imagine the frame slowly gliding as it plays:
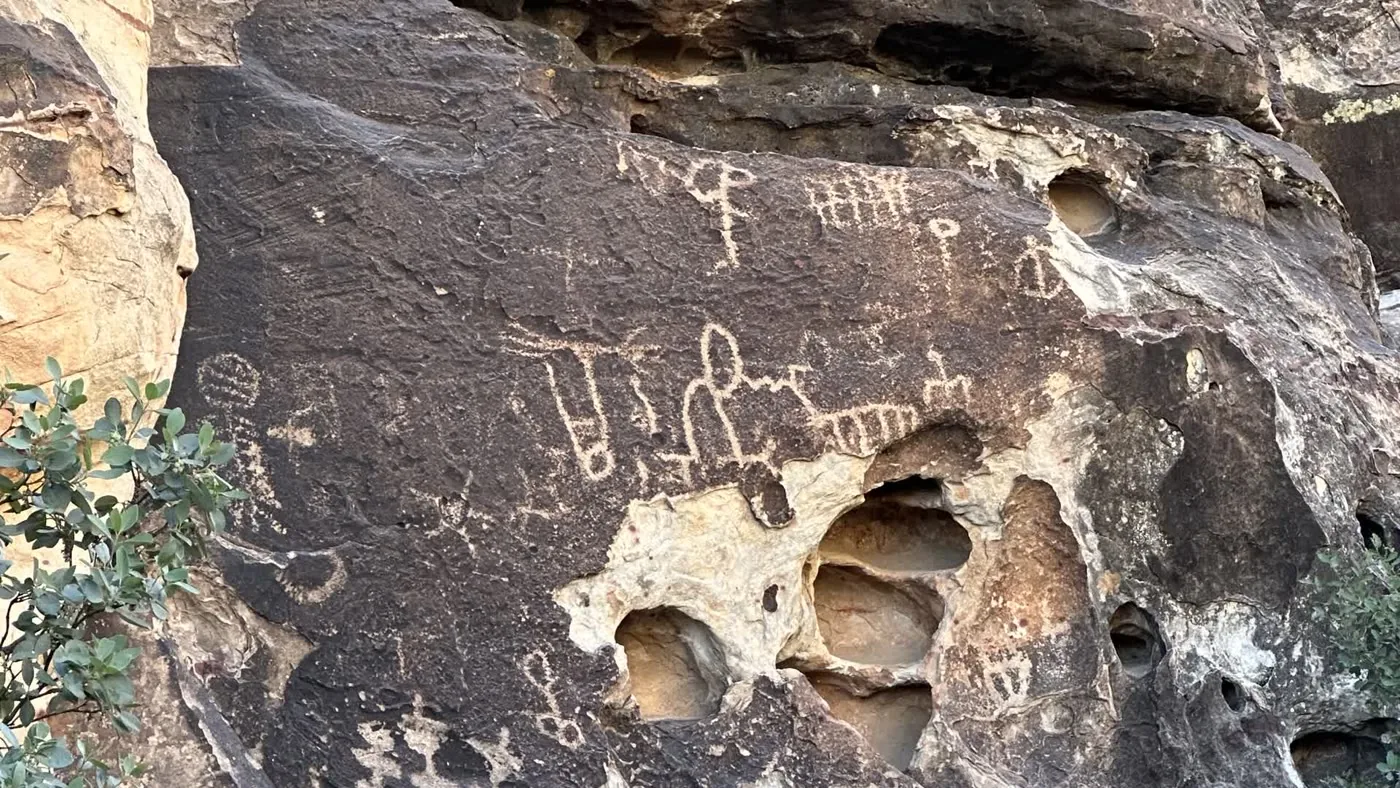
One frame from a generated slideshow. In motion, the camera drifts slowly across the shot.
What makes it look directed, not automatic
Anyone can tell ffmpeg to zoom into a photo. The difference between that and something that looks directed is in the details, and those are the decisions I baked into the skill:
- Eased motion. The moves accelerate and settle using a smooth curve, so a push-in feels like a camera operator, not a slider dragged at constant speed.
- Alternating moves. Push in, pull out, glide, tilt — the skill cycles through them so a long slideshow has rhythm instead of the same zoom over and over.
- No jitter. ffmpeg’s zoom is famous for a subtle stutter. The skill renders on an enlarged copy of each photo and scales down, which smooths it out.
- Smart framing. Landscape photos fill the frame. Portraits and squares are placed sharp over a blurred version of themselves, so faces are never cropped off.
That last one matters most on a real folder, which is always a messy mix of orientations. Here’s a portrait handled automatically — sharp in the middle, with a soft blurred background filling the widescreen frame instead of a hard crop:
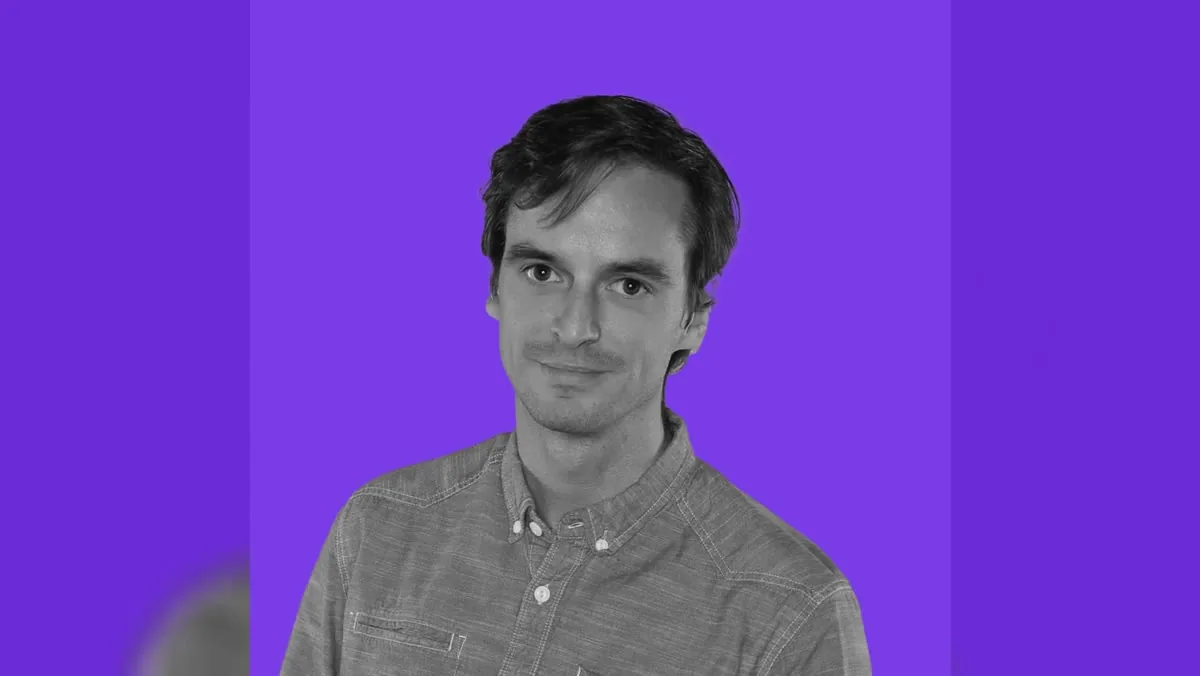
Auto-framing: a portrait sits sharp over a blurred fill, so nothing important gets cropped.
How to use it
The whole skill is one script. You point it at a folder and name the output:
python3 ken_burns.py --in "/path/to/photos" --out slideshow.mp4
Add a music bed and slow the pace down a touch:
python3 ken_burns.py --in ./photos --out show.mp4 --music track.mp3 --secs 4.5
Making something for Reels or TikTok? Ask for a vertical frame:
python3 ken_burns.py --in ./photos --out reel.mp4 --res 1080x1920
Photos play in filename order, so numbering them (01_, 02_) lets you tell a story. The only thing you need installed is ffmpeg — no editing app, no monthly fee, and it runs on the whole folder in seconds.
Getting the skill — and why it’s free
I’m a video producer, not a developer, and one of the things I like most about Claude skills is how easy they are to share. A skill is just a plain-text file that tells the assistant how to do one job well. This one is a single script plus a short instruction file — that’s it.
I’m releasing these free because they’re small, genuinely useful, and I’d rather put them in people’s hands than sit on them. This is the first of a series aimed at anyone new to Claude who wants a quick, satisfying win. If you’d like the skill file, reach out or follow along on LinkedIn, where I’m sharing the whole set.